
OpenCode CLI बनाम Desktop: 2026 वर्कफ़्लो तुलना
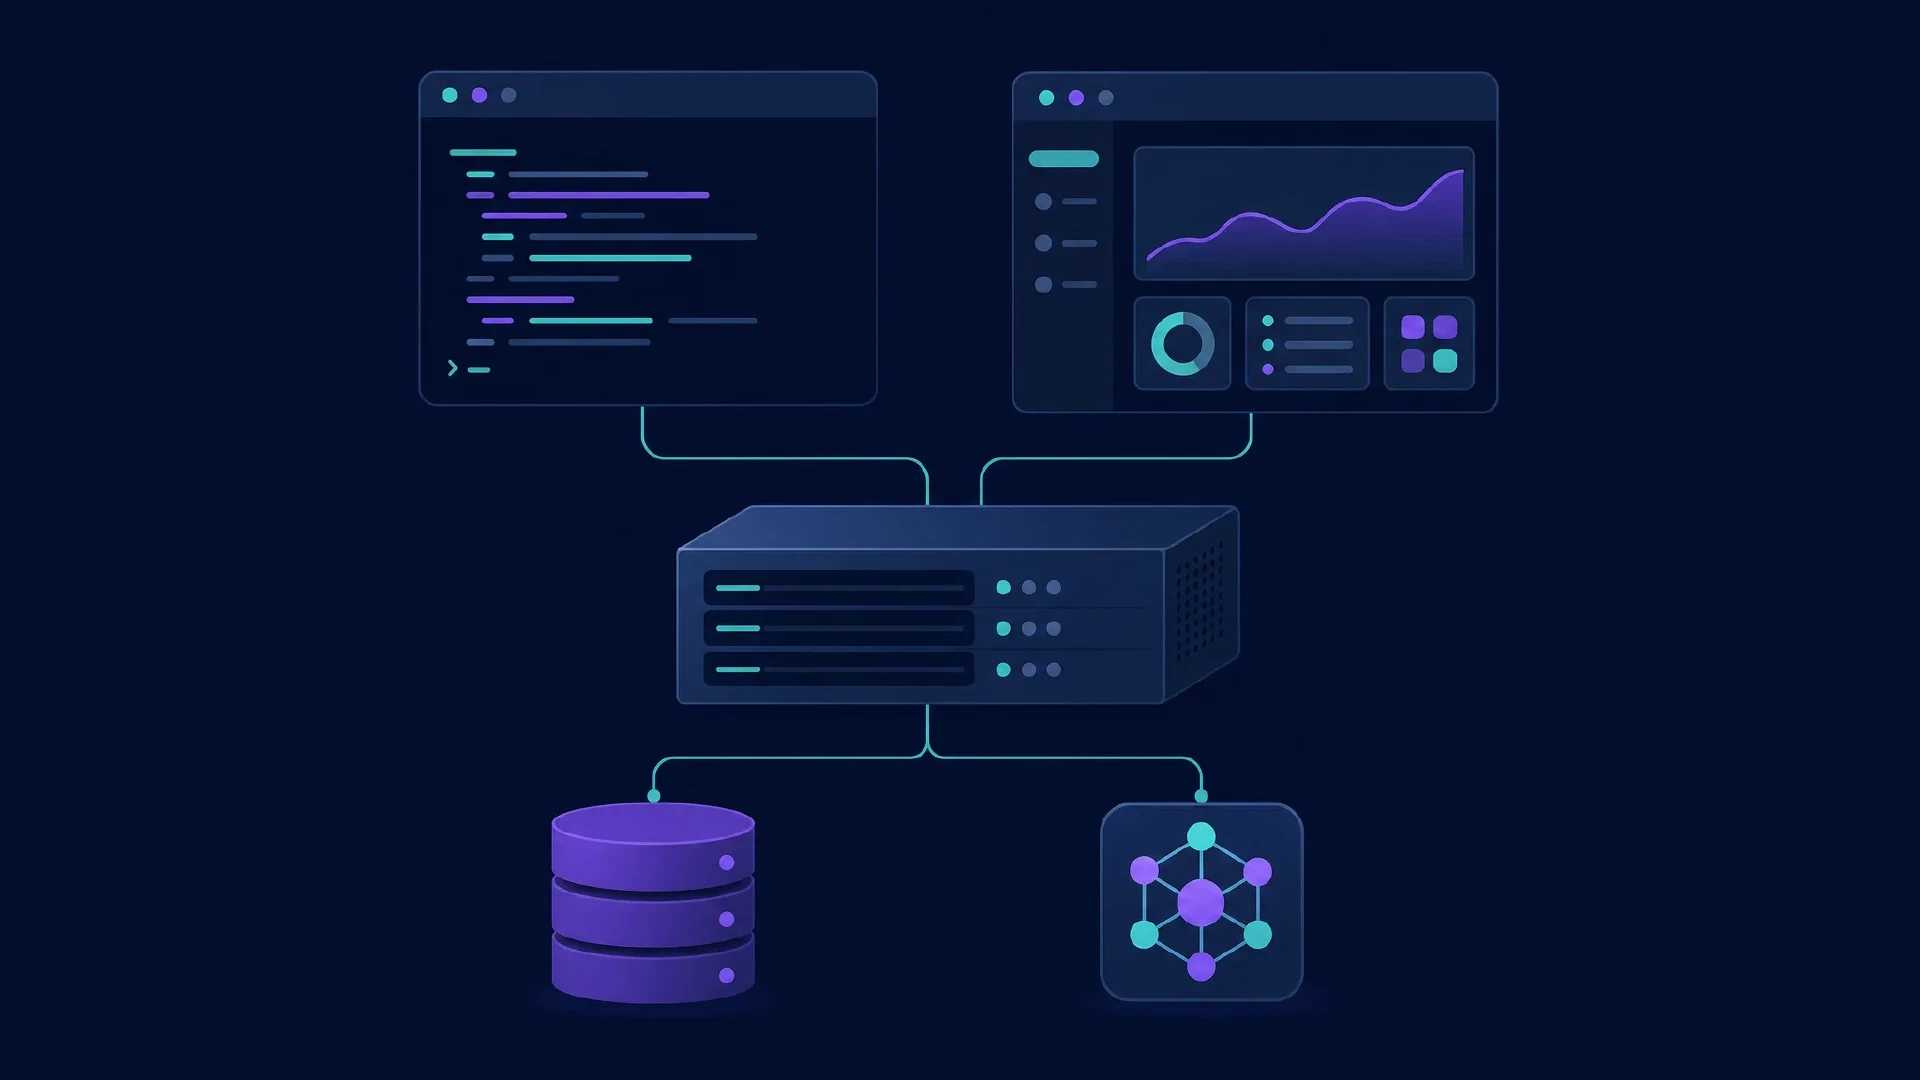
Table of Contents
OpenCode CLI और desktop एक ही coding-agent product के clients हैं। Terminal interface keyboard-driven काम और scripts के लिए उपयुक्त है। Desktop application graphical workspace देता है। महत्वपूर्ण तुलना में हर client के पीछे का server, project, provider और configuration शामिल है।
Backend पहचानने के बाद interface चुनें। दो OpenCode windows एक ही server या session का उपयोग करें, यह आवश्यक नहीं है। अलग server से जुड़ा desktop application अलग execution environment है, भले model label परिचित लगे।
मुख्य बातें
- Terminal काम और non-interactive commands के लिए CLI उपयोग करें।
- Graphical workspace के लिए desktop उपयोग करें, साथ में चुने गए server की जाँच करें।
- Provider configuration inference तय करती है, interface से स्वतंत्र।
- एक जैसी product identity अलग servers या versions में एक जैसी session state की गारंटी नहीं देती।
दायरा और तारीख: Official documentation 6 October 2026 को जाँची गई। यह guide interfaces की तुलना करती है, model quality की नहीं। आपको repository, working provider connection और basic terminal familiarity चाहिए। Trial के लिए 45 से 60 minutes रखें।
Client और Server
OpenCode interface और server को अलग रखता है।
Server documentation
terminal UI को client और opencode serve को standalone server बताती है। यह architecture agent के साथ interaction के कई तरीके देता है।
Desktop default रूप से local server शुरू करता है।
Troubleshooting guide
उसके opencode-cli sidecar और configured server URL से connect करने का option बताती है। Clients का व्यवहार अलग हो तो prompt बदलने से पहले इस connection की जाँच करें।
| Layer | उत्तर देने योग्य प्रश्न |
|---|---|
| Client | Terminal UI, desktop app या non-interactive command? |
| Agent server | कौन सा process request प्राप्त करता है? |
| Repository | Server किस directory को access करता है? |
| Model provider | कौन सी service inference देती है? |
| Session | Existing conversation या नया task? |
Server location, inference location नहीं है। आपके computer पर agent server होने पर भी requests configured hosted model को जा सकती हैं। इसके विपरीत compatible local inference service अपने model और resource requirements वाला अलग process है।
Official server reference opencode serve के default hostname के रूप में 127.0.0.1 सूचीबद्ध करती है। Local trial में service को loopback पर रखें:
opencode serve --hostname 127.0.0.1
Wider bind address तभी उपयोग करें जब authentication, firewall rules और server को उपलब्ध repository paths तय हों।
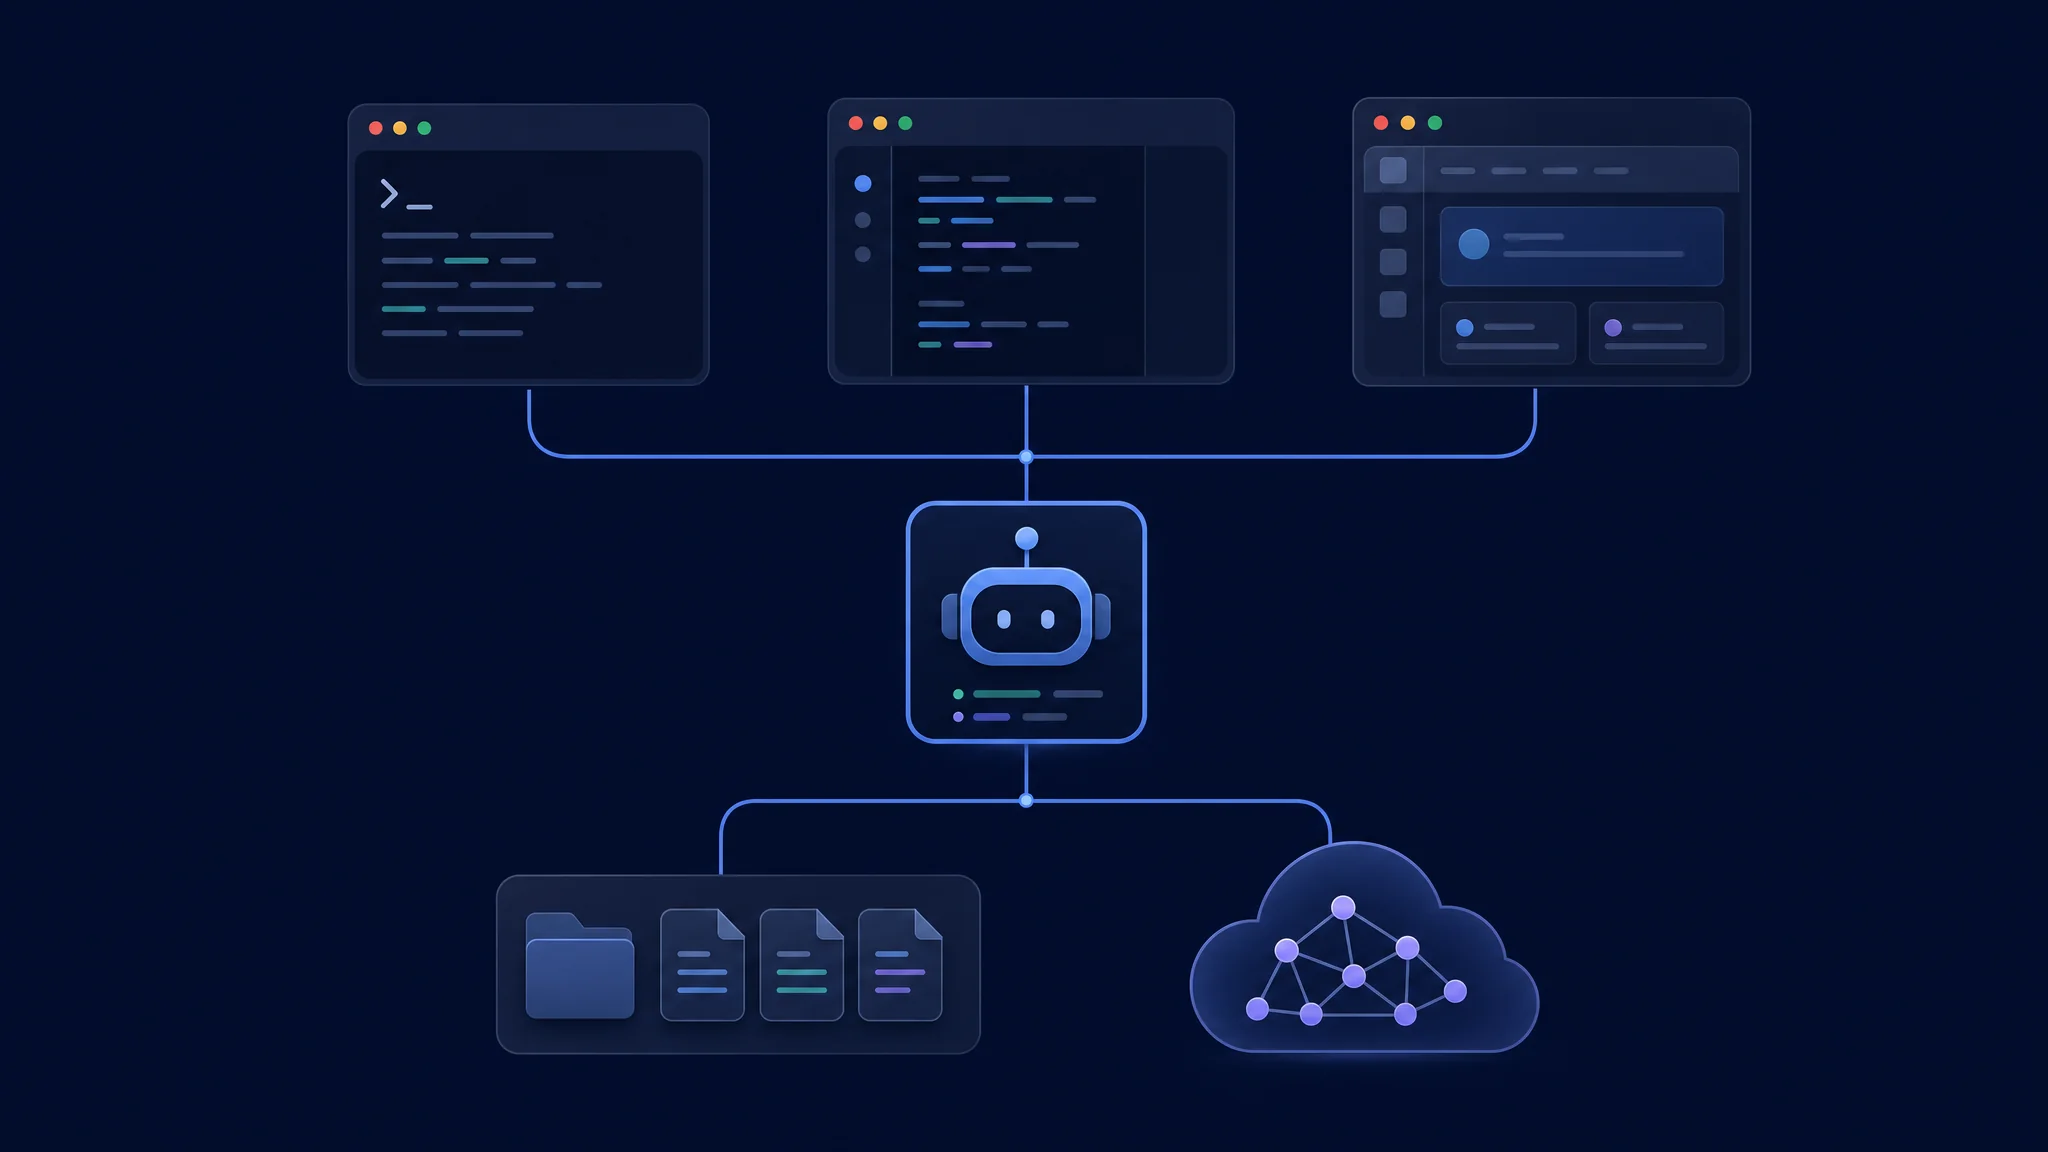
Agent server और inference provider की अलग-अलग जाँच करें
Terminal Interaction और Automation
opencode
Default command terminal UI खोलता है। CLI reference programmatic commands भी document करती है। Intended repository में शुरू करें और edits माँगने से पहले selected agent और model की पुष्टि करें।
opencode run "Identify this project's test command. Do not modify files."
Bounded non-interactive request के लिए opencode run उपयोग करें। Appropriate permission policy अलग से तय करें। No-change prompt दिशा देता है, पर filesystem isolation enforce नहीं करता।
Shell composition महत्वपूर्ण हो तो यह workflow चुनें। Repeatable wrapper को request, exit status, relevant output और changed files capture करने चाहिए। Failure handling स्पष्ट रखें। Empty diff और success message का अर्थ verified fix से अलग है।
Desktop Setup और Compatibility
Intended release के लिए official download page उपयोग करें। OpenCode download page terminal और desktop packages सूचीबद्ध करती है। इस जाँच में page v2 terminal packages दिखाती है, जबकि general documentation में पुराने installation examples भी हैं। Exact client और backend versions लिखें। अलग release tracks की instructions न मिलाएँ।
छोटे real task से desktop interaction का मूल्यांकन करें। Project खोलें, server confirm करें, bounded request भेजें, changed files inspect करें और correction माँगें। Agent के actions समझने में लगने वाला effort आँकें। Graphical client को editor और debugger का complete replacement न मानें।
| Desktop trial | अपेक्षित evidence |
|---|---|
| Project selection | Agent intended repository पहचानता है |
| Model selection | Provider और model trial record से मेल खाते हैं |
| Command execution | Required runtime और tests उपलब्ध हैं |
| Change inspection | Full patch आसानी से मिलता और review होता है |
| Restart | Intended project और session पहचाने जा सकते हैं |
Configuration और Model Access
OpenCode कई locations से configuration merge करता है। Configuration reference precedence और non-conflicting settings के preservation को समझाती है। केवल project file नहीं, effective model, agent और permissions की तुलना करें।
Provider access execution setup का भाग है। Provider guide supported services और compatible endpoints बताती है। Credentials, endpoint reachability और model tool support महत्वपूर्ण हैं। दूसरे स्थान पर चल रहे server को provider और repository के लिए अपना valid access चाहिए।
Client total inference cost तय नहीं करता। Matching models और tasks पर billed usage की तुलना करें। Configuration errors से हुई repeated runs भी गिनें। Local inference में system memory, model format, context size और runtime settings record करें। Desktop download को hosted computation का free replacement न बताएं।
Sessions और Safe Switching
Continuity को मानने के बजाय verify करें। Clients बदलने से पहले active project और session record करें। जाँचें कि destination intended server से connect है और intended history दिखाता है। New session शुरू करते समय goal, completed work और remaining checks वाला concise handover दें।
एक checkout पर concurrent edits से बचें। अलग plans वाली दो conversations एक ही directory को target करें तो files share करती हैं। Independent experiments के लिए separate worktrees या checkouts उपयोग करें। Changes integrate करने से पहले review करें।
Handover record
Goal:
Current branch and working directory:
Files changed:
Checks already completed:
Known failures:
Next approved action:
यह record handover को inspectable बनाता है। यह interface issue को missing instruction या environment mismatch से अलग करने में भी मदद करता है। Credentials record में न रखें।
Server Access और Permissions
Agent server को execution service मानें। Server documentation OPENCODE_SERVER_PASSWORD के माध्यम से optional authentication बताती है। Machines connect करने से पहले access को जानबूझकर configure करें। Reachable agent server harmless static website नहीं है।
Tool permissions की अलग समीक्षा करें। Permission guide allow, ask और deny behavior परिभाषित करती है। Interface trial में वही policy लागू करें। Effective rules जाँचे बिना कम prompts वाले client को safer या more capable न मानें।
Harmless policy test से शुरू करें। Disposable project में allowed file inspection और prohibited edit माँगें। Observed behavior verify करके bounded implementation पर जाएँ। इससे permission assumption testable बनती है।
Troubleshooting और Choice
| Symptom | पहला inspection |
|---|---|
| Desktop connection failure | Selected server और local sidecar status |
| एक client में model missing | Server version, provider access और configuration |
| अलग test result | Project directory और runtime environment |
| Conversation missing | Server और session identity |
| Plugin load होने तक काम करता है | Plugin configuration और release compatibility |
Terminal चुनें यदि scripted requests और shell context काम आसान बनाते हैं। Desktop चुनें यदि graphical project navigation supervision बेहतर करती है। Provider और policy decisions को इस preference से अलग रखें।
अगले कदम: CLI roundup में terminal alternatives की तुलना करें। Local inference requirements के लिए OpenCode and Strata guide पढ़ें। Graphical alternatives के लिए GUI roundup देखें।
Related Posts